AI has revolutionized the way we create content—from writing content to the recent development of generating images out of simple prompts. LLMs (large language models) have come a long way. Users can now generate realistic images by giving simple text-based prompts, which render out realistic or desired images. These images can be used across platforms without having to worry about the copyright issues of those images. The human images generated through AI are also free to use.
The applicability of these AI-generated images is endless. But, with new AI image generation models coming daily, generating the best output can be tricky. This article will tell you how to use AI to generate images.
What is AI Image Generation?
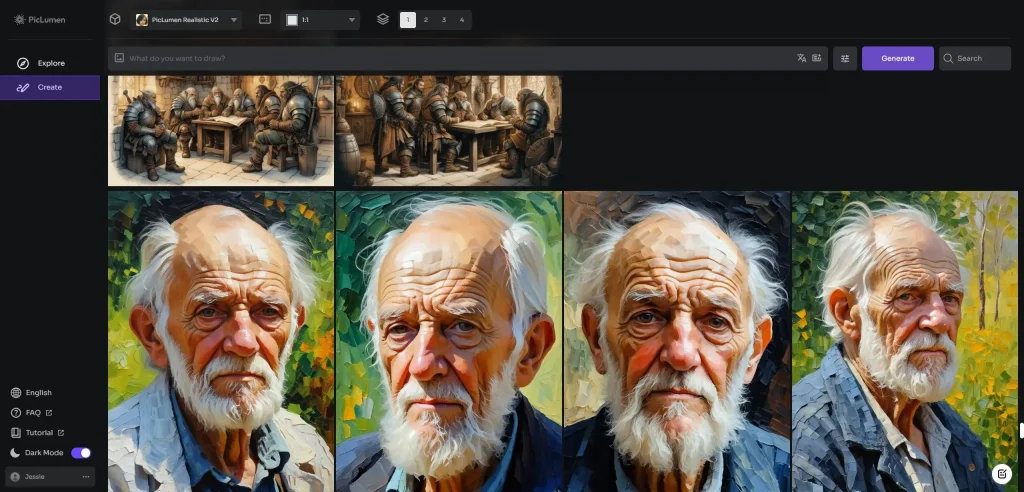
In simple language, AI image generation takes text-based descriptive prompts and reference images to generate high-quality images. While generating images, you can experiment with various styles and resolutions. The possibilities are endless. These images aren’t pulled from various images on the internet but are created from scratch using advanced algorithms. This mimics the human capacity to imagine scenes and scenarios visually and recreate them.
There is a lot more going on behind the scenes than meets the eye. AI image generation is powered by neural networks, complex structures, and algorithms inspired by the human brain.
One of the most prominent types of neural networks used in AI image generation is the Generative Adversarial Network (GAN). This is essentially two models working together, one that creates images and one that distinguishes real images from generated images, complementing and enhancing the neural network altogether.
The initial AI image generation models were basic and had flaws in generating images of humans, racial profiling, and text. Recent developments have solved many of these problems, and the space is only bound to expand. Soon, there will be little to no distinction between AI-generated and real images (which we can already see coming true).
How Does AI Image Generation Work?
AI image generation works in steps: Input processing, feature extraction, image generation, refinement, and output. Each of these processes utilizes different neural networks and algorithms, which, when combined, form an AI image generation model.
Coming on to the first step, Input processing uses NLP (Natural language processing) abilities to process the text-based input from the user. The NLP abilities of the model extract key phrases and build context for further processing. Suppose the user has input rough sketches or a reference image for the model (possibly with the latest models). In that case, it will use the image processing abilities to extract key features of the images and build context based on the text and images combined.
In the second step, Feature extraction utilizes CNN (Convolutional Neural Networks), which processes the input further, making it suitable for the image generation model to understand. They extract features from the images and phrases from the input to establish a connection and path for image generation. This is crucial as it serves as the guide for image generation.
The third step is Image generation using GANs (generative Adversarial Networks), where two models work against each other, one that generates images and one that distinguishes between real and generated images, making the generator model do better and better. More advanced diffusion models are now working on reverse engineering pure noise to generate images. An image generation model can use both or either one of these.
The final step of Refinement and output may or may not use AI. For most AI models, the user can also control the refinement process. Once the generated images are refined and finalized, users can view the final output, download it in various formats, or export it to other tools for further use.
While these complex mechanisms are employed, the quality and comprehensiveness of your prompt still tremendously affect the output.
Step-by-Step Guide to Generate AI Images
While AI image generators look easy to use, it is more about how you define your needs. This guide explains how you can pick one that fits based on your requirements.
Step 1: Choose the Right AI Image Generator
● Ease of use and access: If you want to use it on your website, make sure the tool works on it, or if you are ok with it working through an extension and do not want it to integrate with your platform, it gives you full freedom.
● Features Even if you get the image of your liking, you might want to edit it as well. Instead of downloading on your phone or PC, an online editor works better. Keeping this in mind, some platforms offer features like image editing, refinement, and sharing options.
● Pricing: Most models have a free tier offering limited capabilities and slower generation speeds. Finding the best fit also involves considering the pricing and overall costs over the long run. Some models have a pay-per-use model, which can be suitable for rare usage. Going for a subscription is ideal if you use it extensively.
Step 2: Define Your Input/prompts
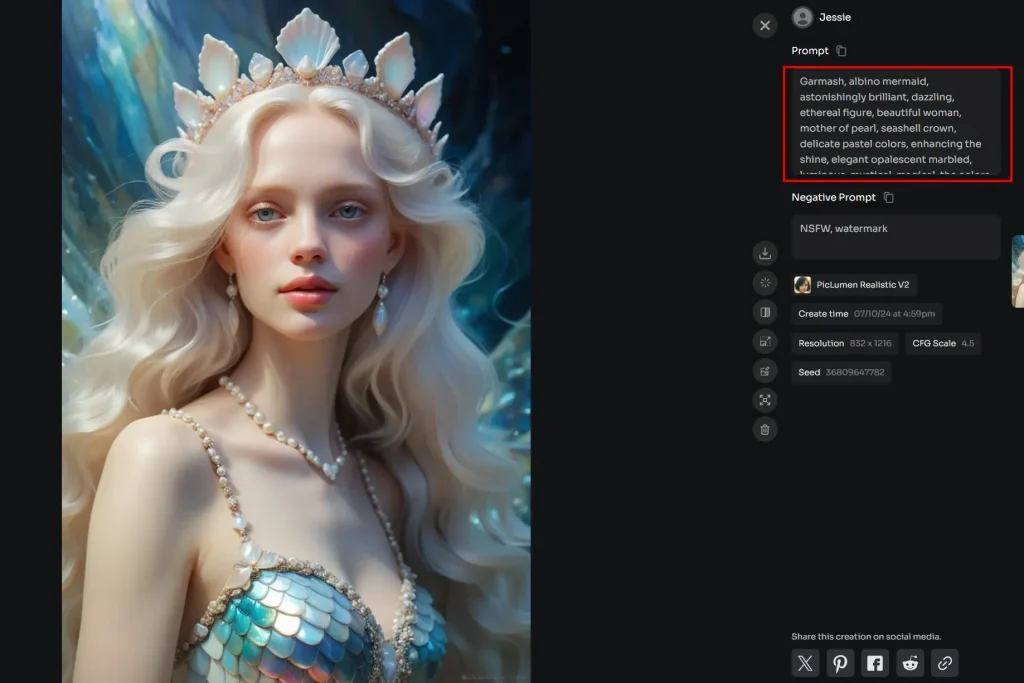
How you write to AI and ask about your needs is essential. Technically, it’s called Prompts. The clearer your query is, the better output it will be able to generate. A good prompt can be broken down into the following elements:
● Subject: This is the core idea of the image. This can either be the core object or person or what the image is really about. It forms the base.
● Action/Pose: This describes what the subject is doing. Is it standing, sitting, or moving? For example, Sitting in a meditation pose.
● Setting/Background: This part describes the background and the scene in the image is to be generated. Try keeping this part brief and crisp as most of the current AI models have trouble constructing backgrounds that are too detailed.
● Style: You can describe the style of the image. Many models allow you to select it separately if yours doesn’t include it in the prompt.
● Lighting: To add more depth to the image, define how you want the environment to be.
● Additional details: You can also define what object the person or character holds.
If you use the examples above to construct a prompt, the final prompt would be: A wise old wizard sitting in a meditation pose in a mystical forest clearing, rendered in a fantasy art style. Soft, dappled sunlight filters through the trees, illuminating the wizard as he holds a glowing orb.
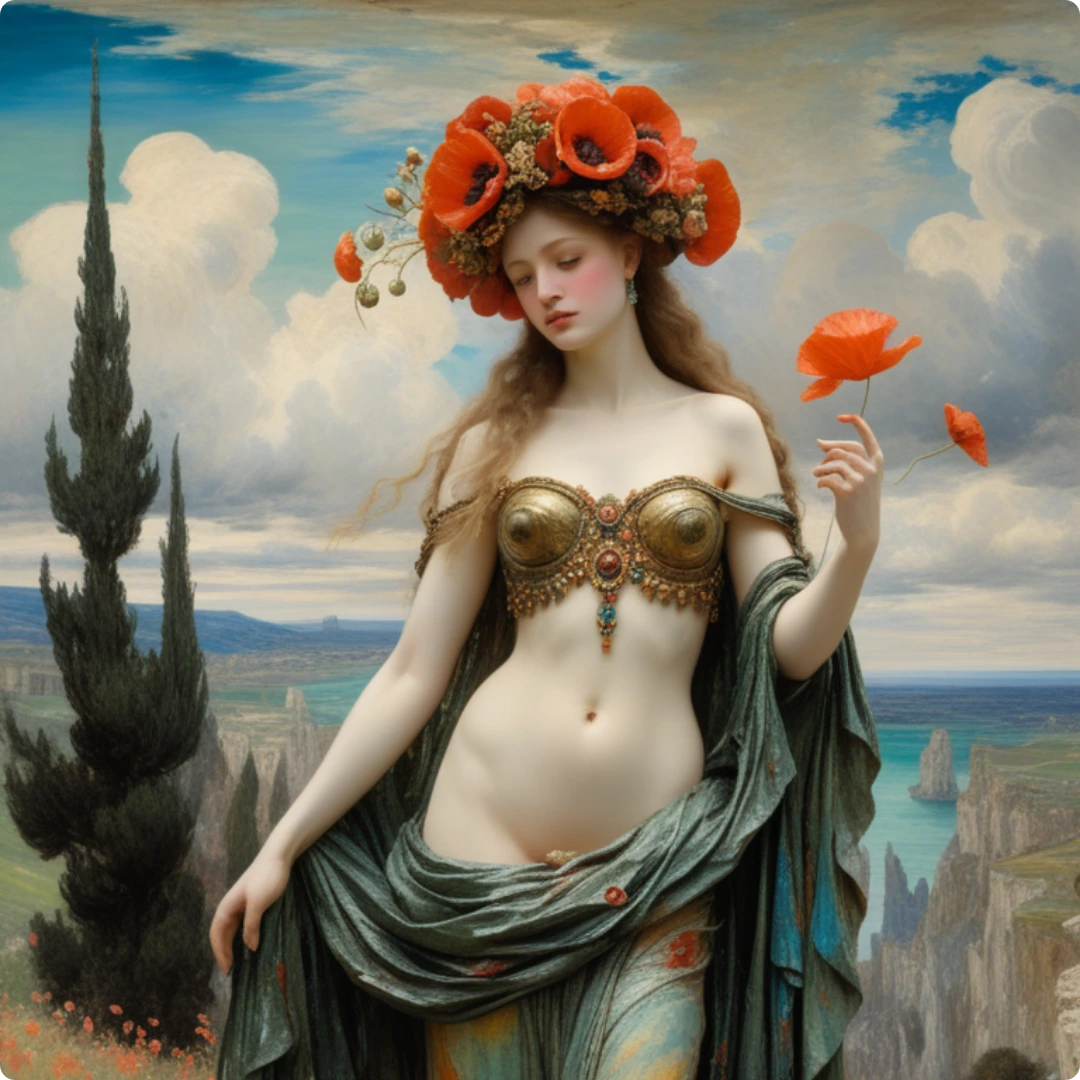
Here are the results of how it turned out. Isn’t it cool?
Step 3: Adjust Settings and Parameters
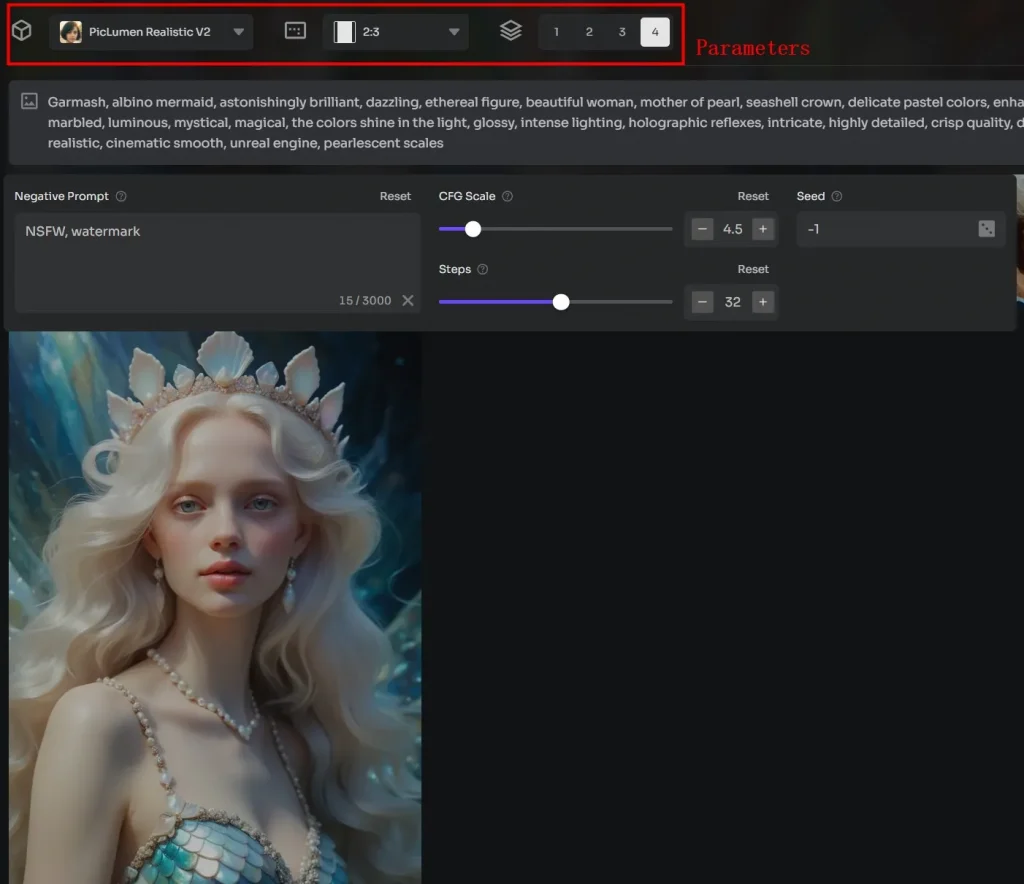
Different AI models allow you to adjust settings and parameters in their way. Still, most will allow you to adjust various non-technical settings, like Aspect Ratio, quality, style, and image count. You can choose them accordingly. Some models may charge you extra for higher resolutions and diverse styles.
Step 4: Generate the Image
This is an automatic process. All you need is to click on the generate button, and AI will use the alogirthm to generate images.
Step 5: Review and Refine
It is possible to tweak the image using prompts to customize it further. It comes in handy when you see something in the image is a miss or not to your liking.
Step 6: Download or Export
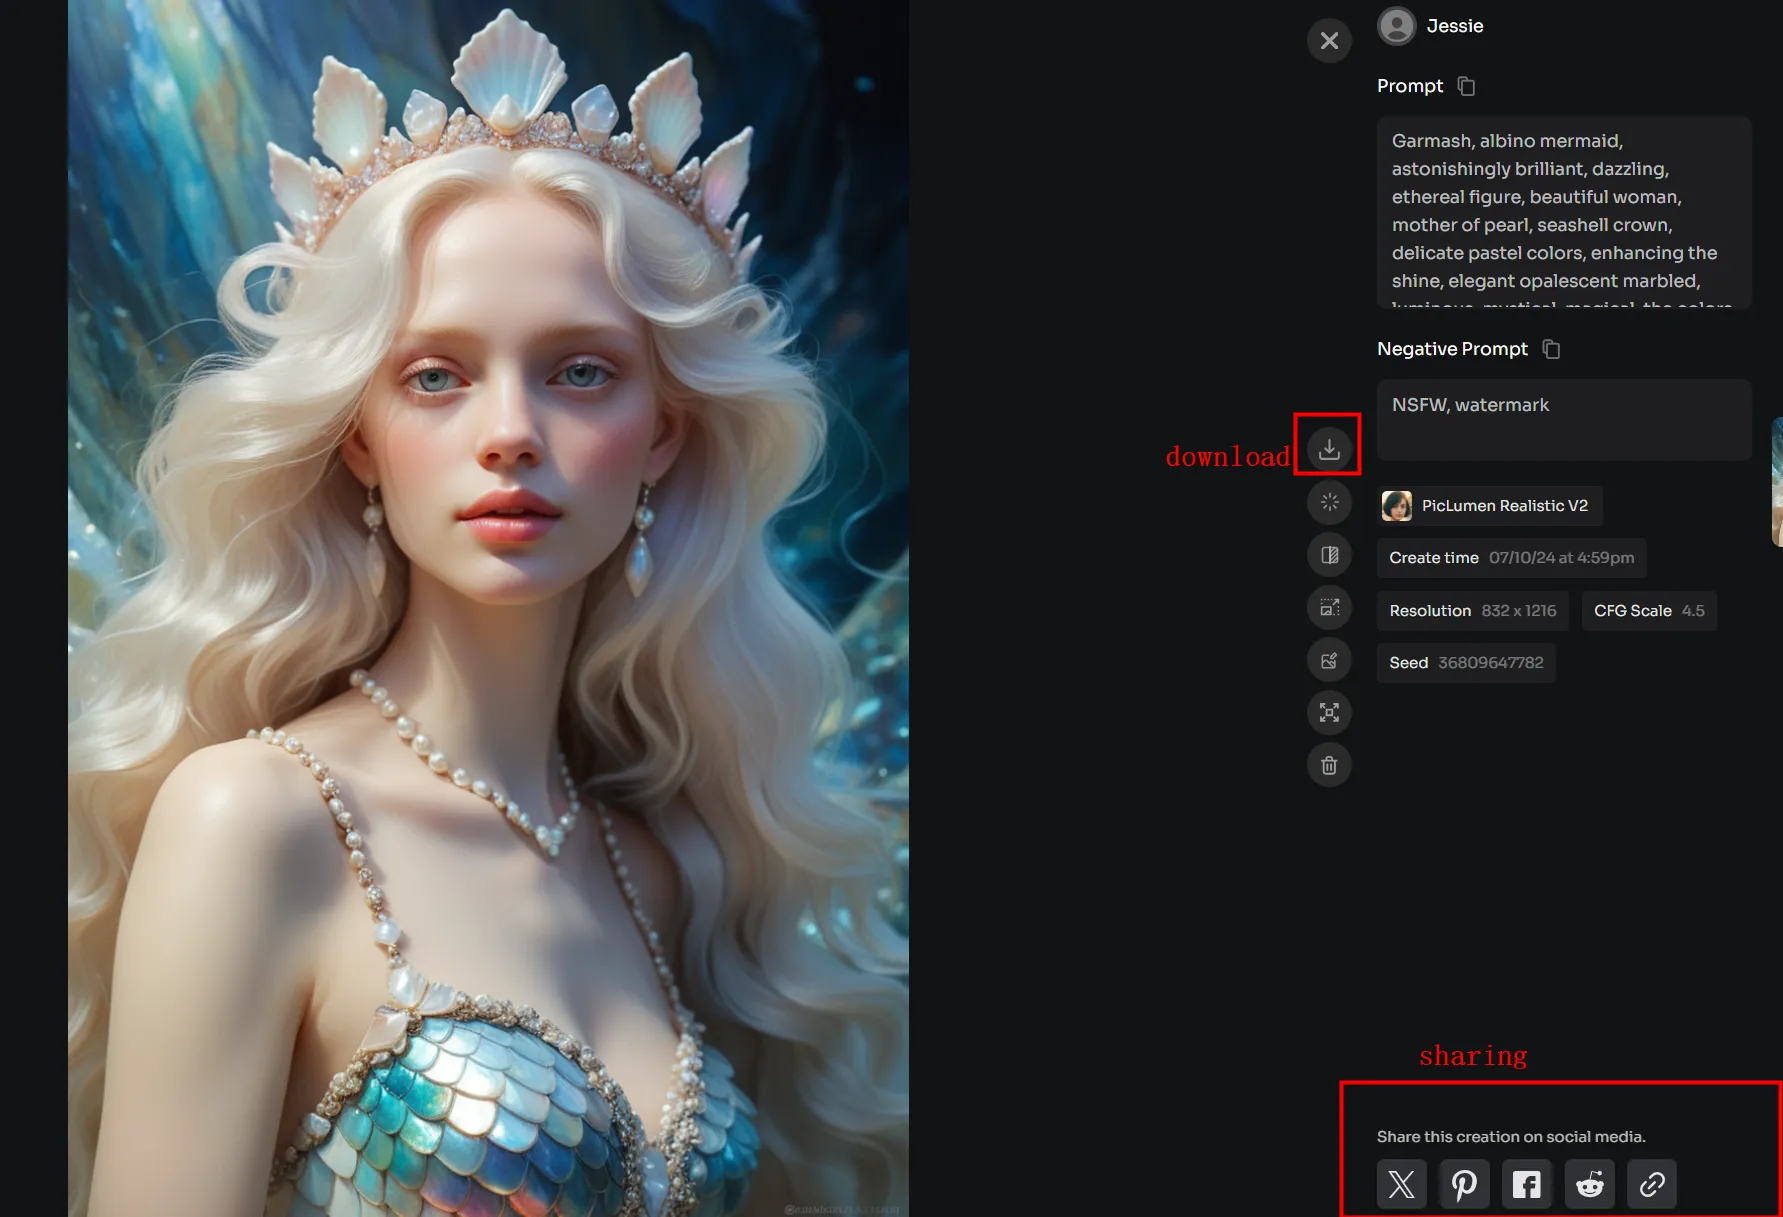
This is the final step, where you can download the generated images. Some platforms offer integration with tools like Canva; others allow you to use these images in designs. You can download these images in your preferred resolution if you wish to.
Remember, AI is an expert available to you, but asking the right question will matter. The more precise, clear, and informative you are, the better AI image it can generate.
Wrapping Up
Once you know how to write a good prompt, all it takes is a few simple clicks.
So, that is all about generating images using an AI tool. If you are getting started, look at PicLumen. It is one of the best on the market, generating high-quality AI images in a few seconds.
